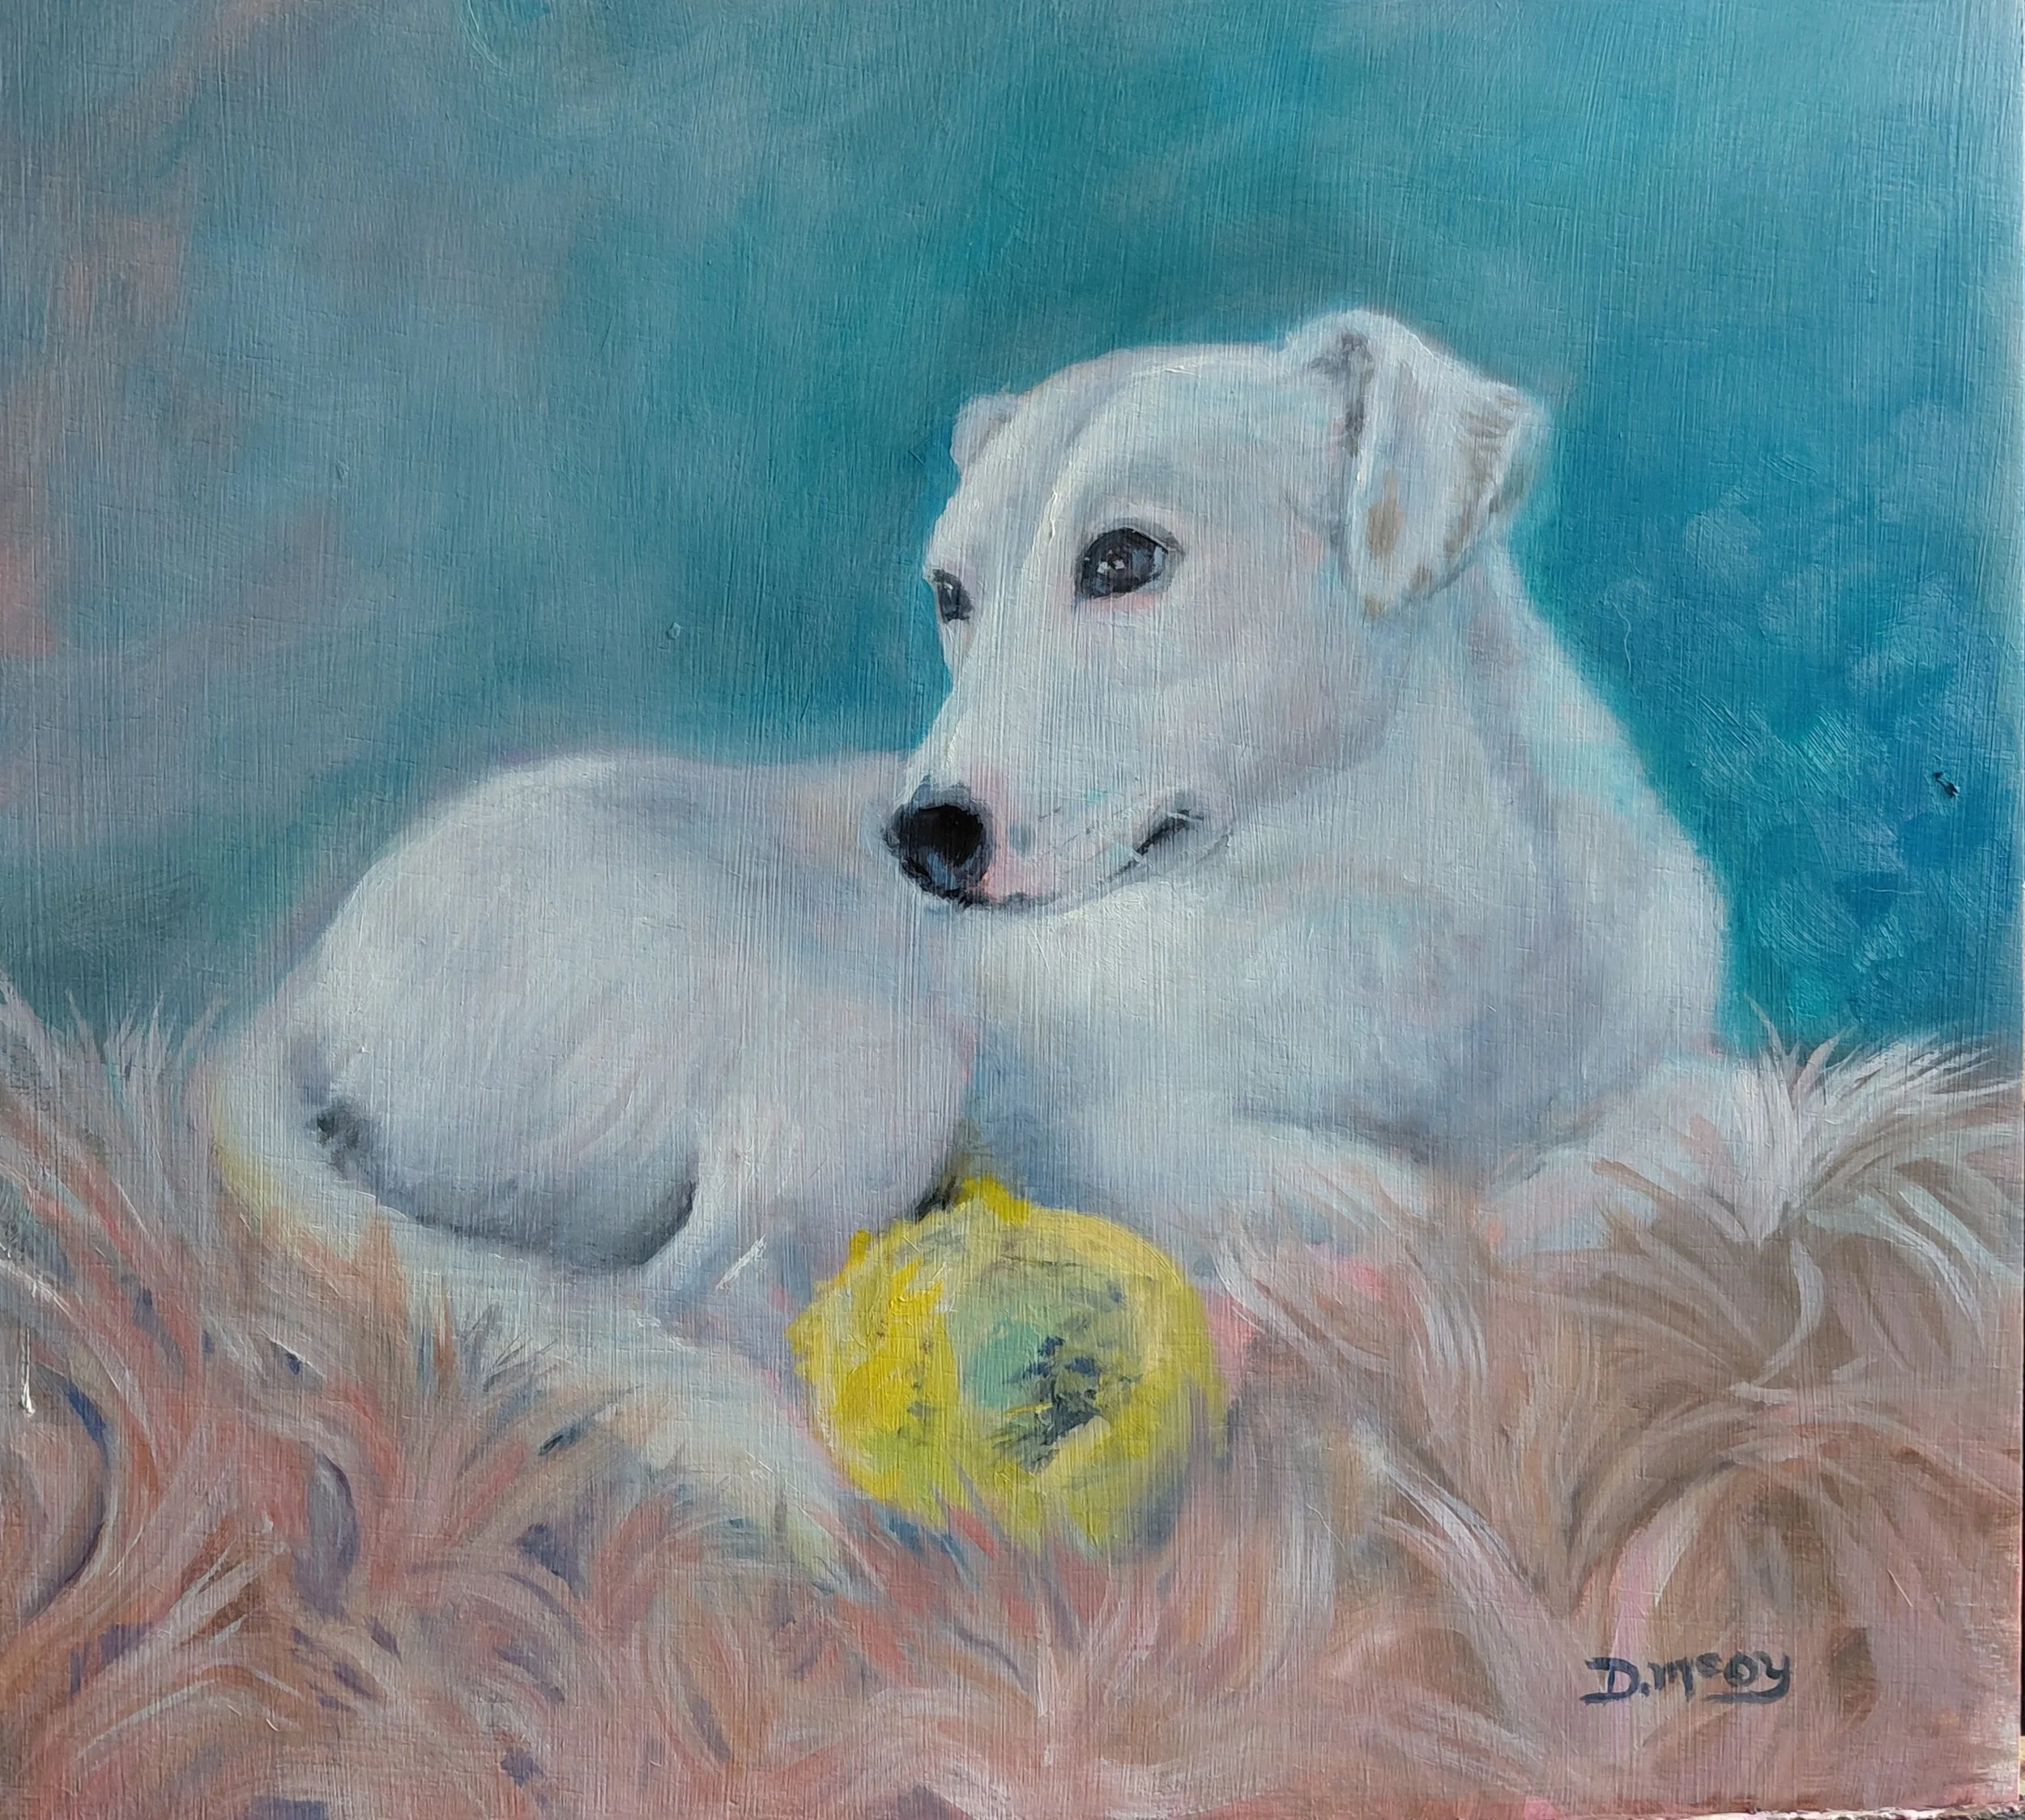
Painting Pet Portraits
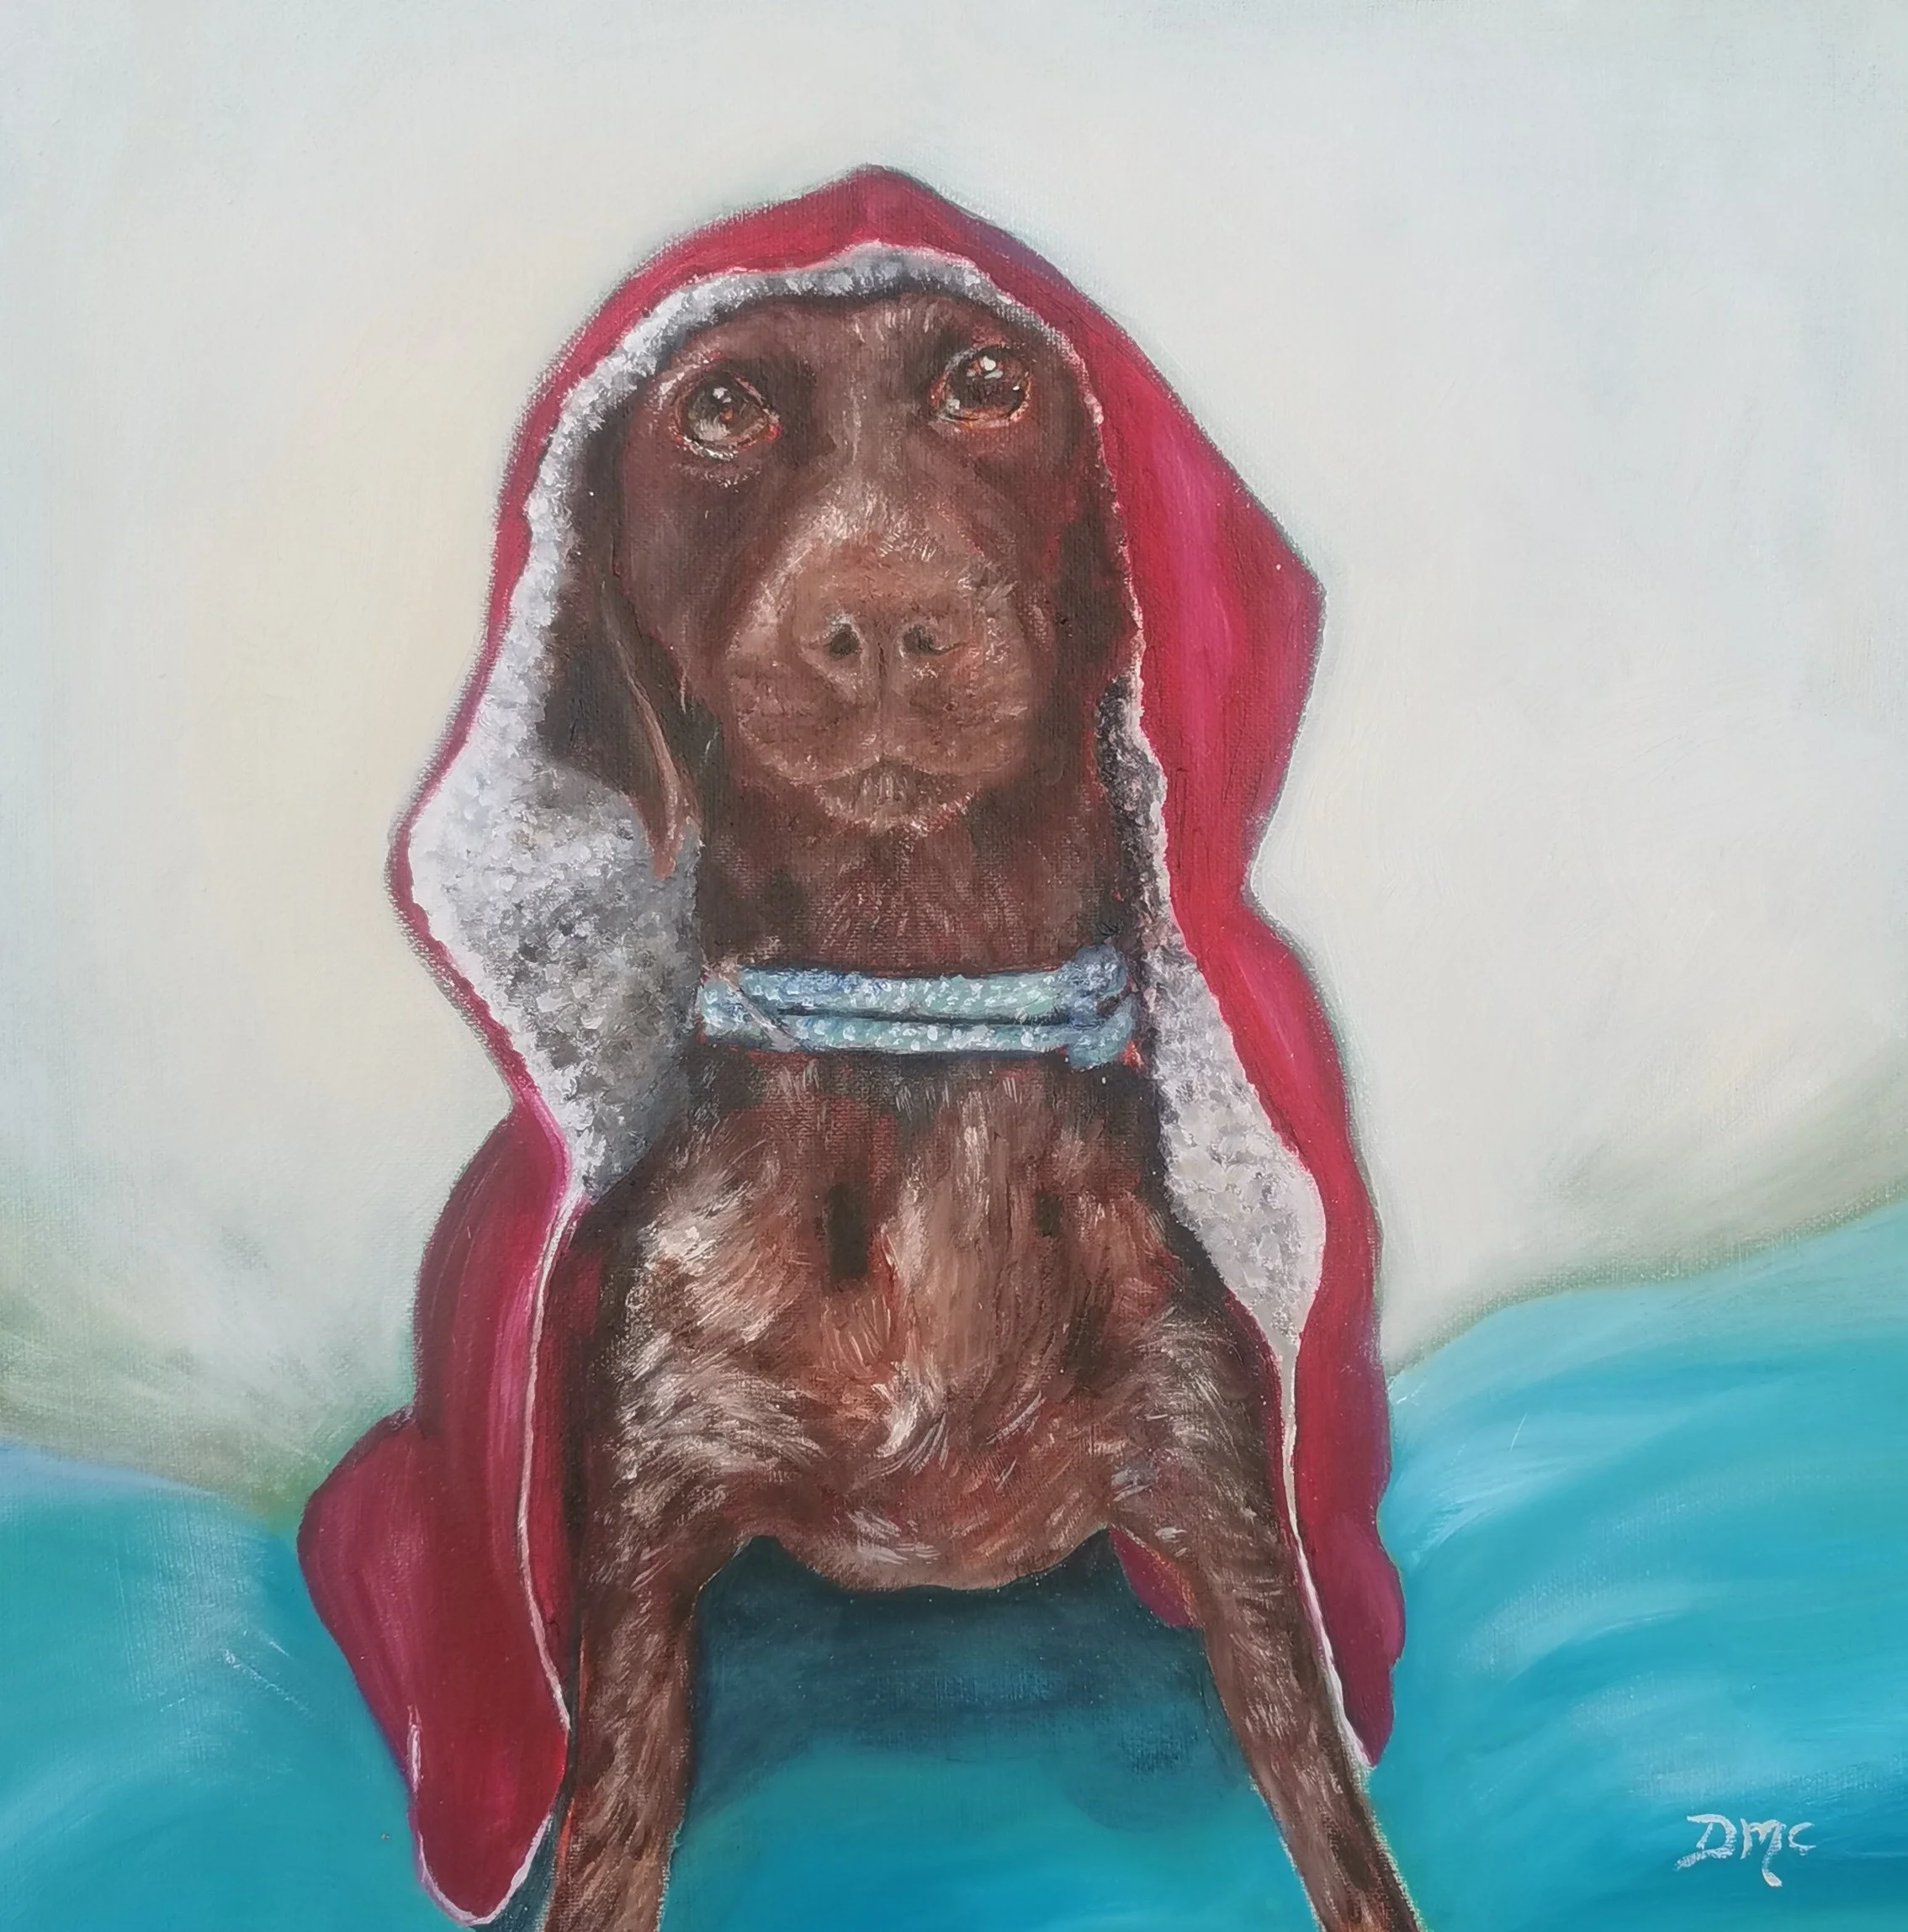
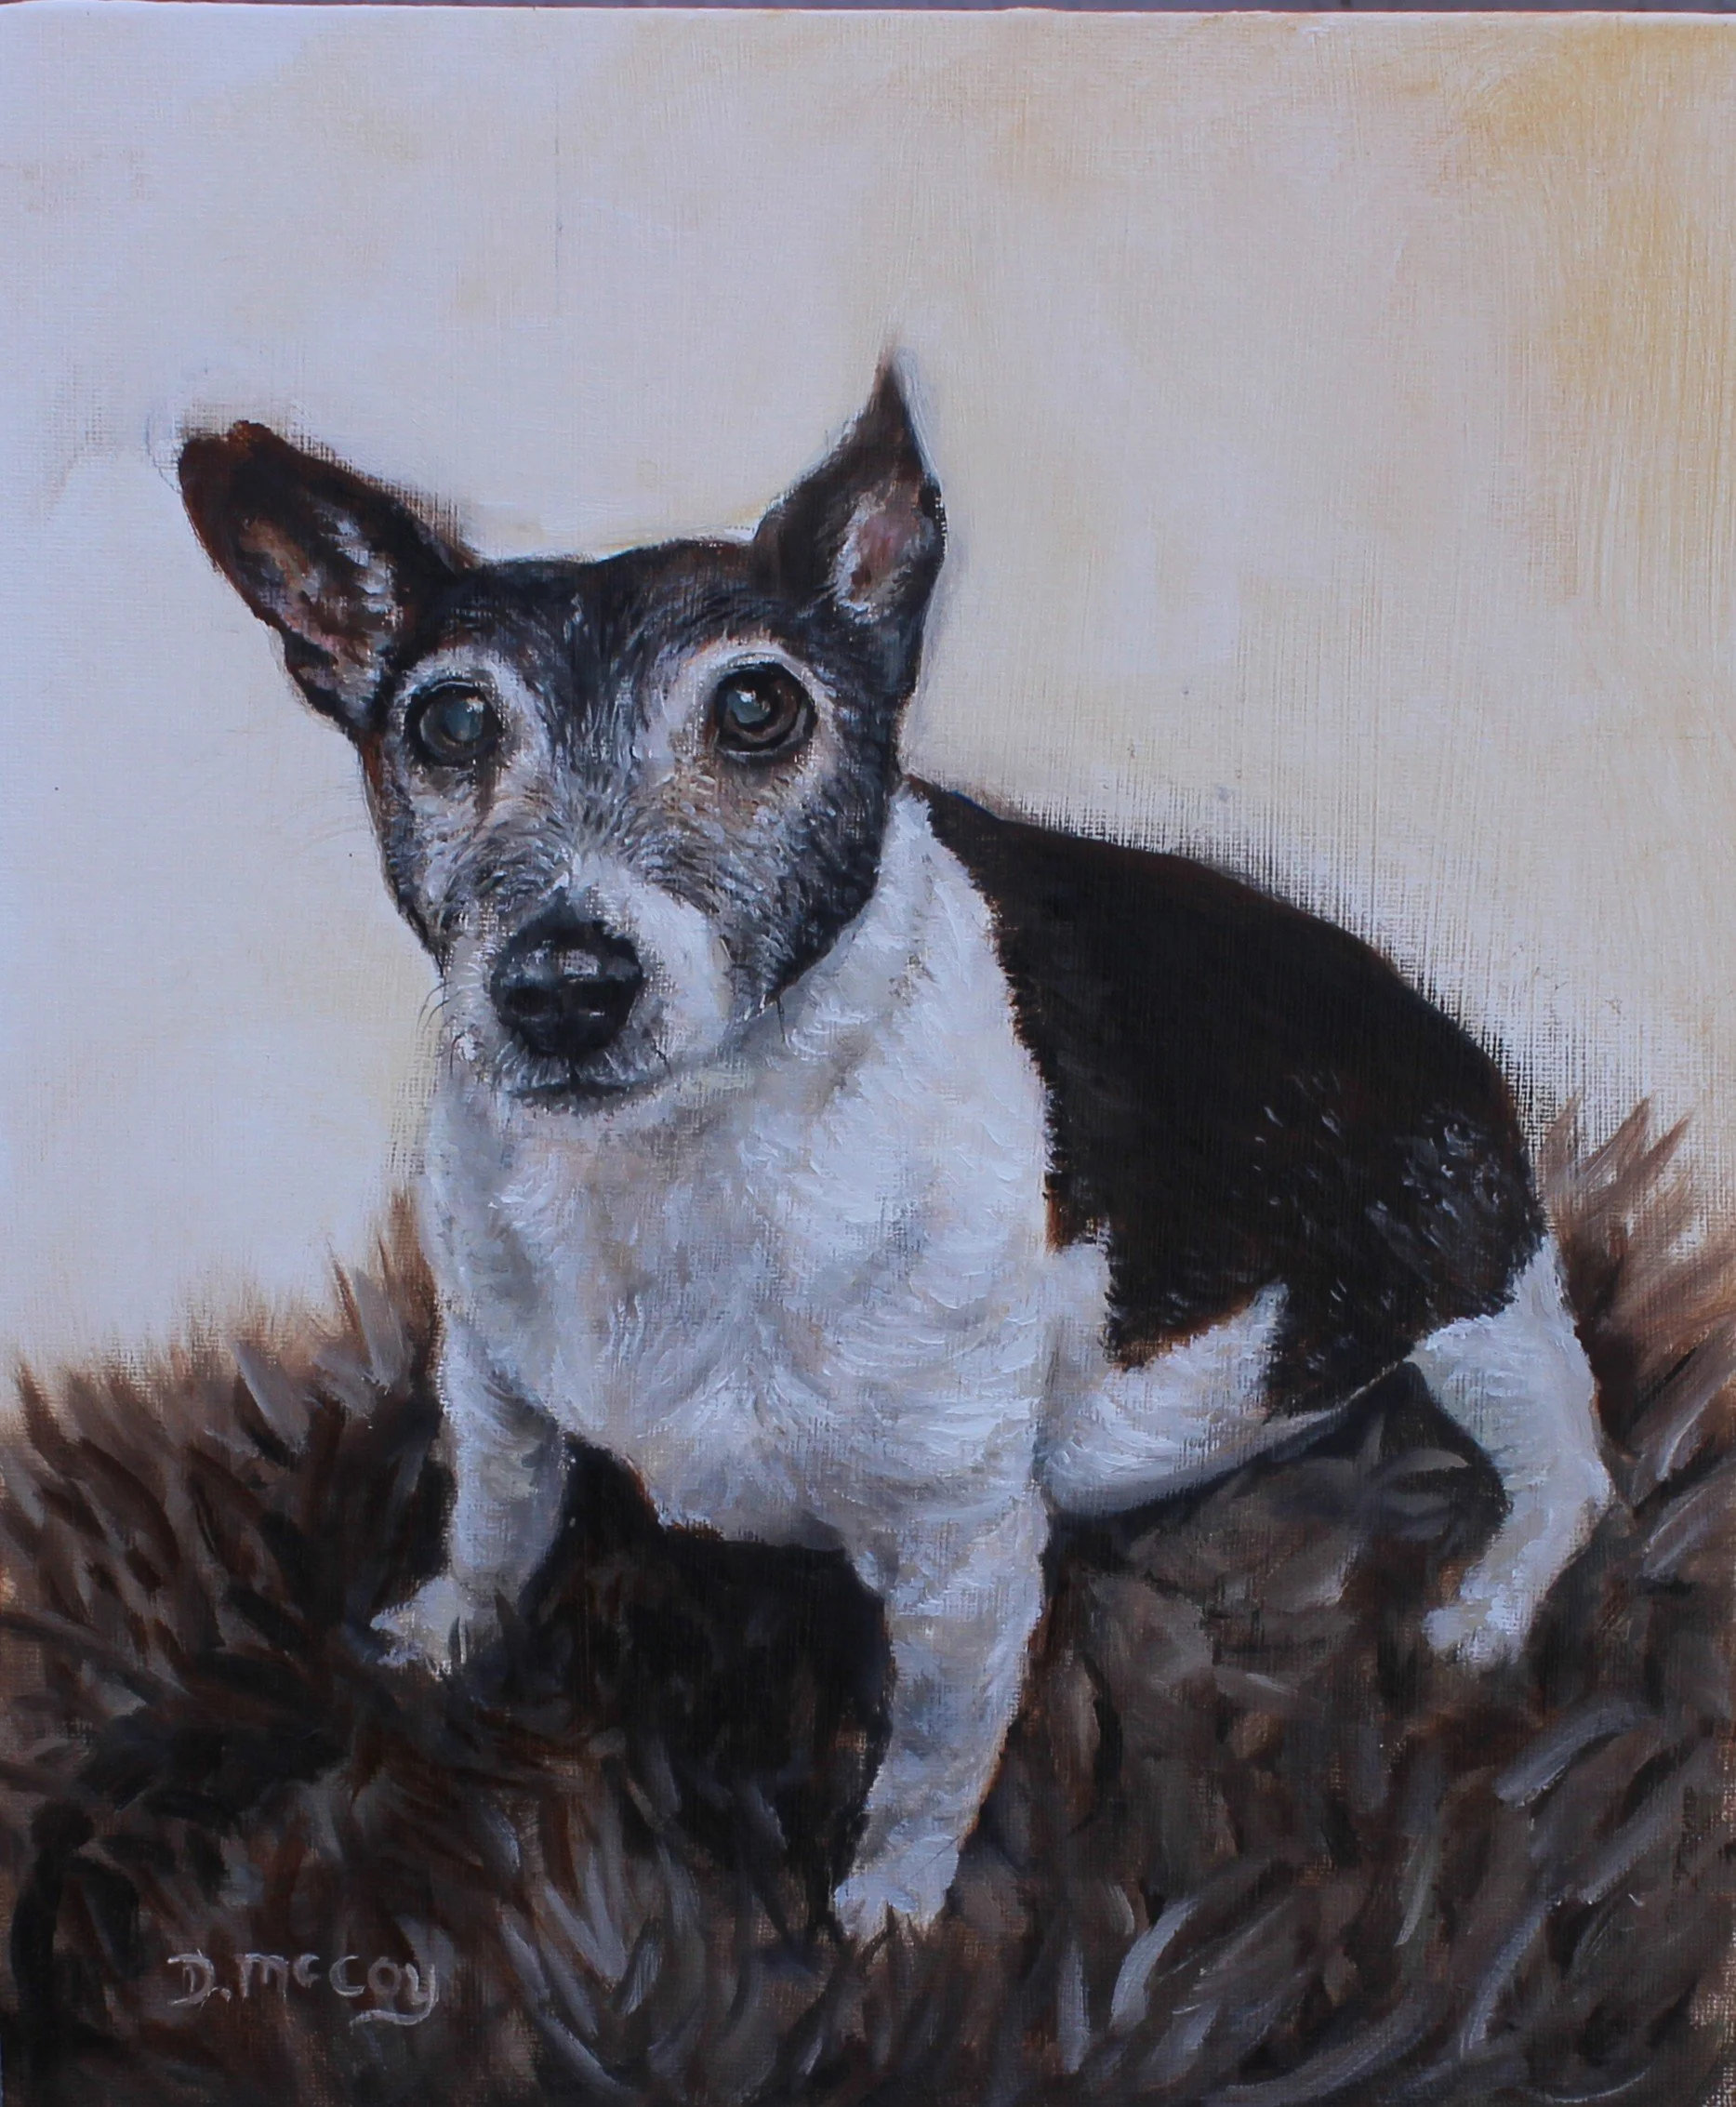
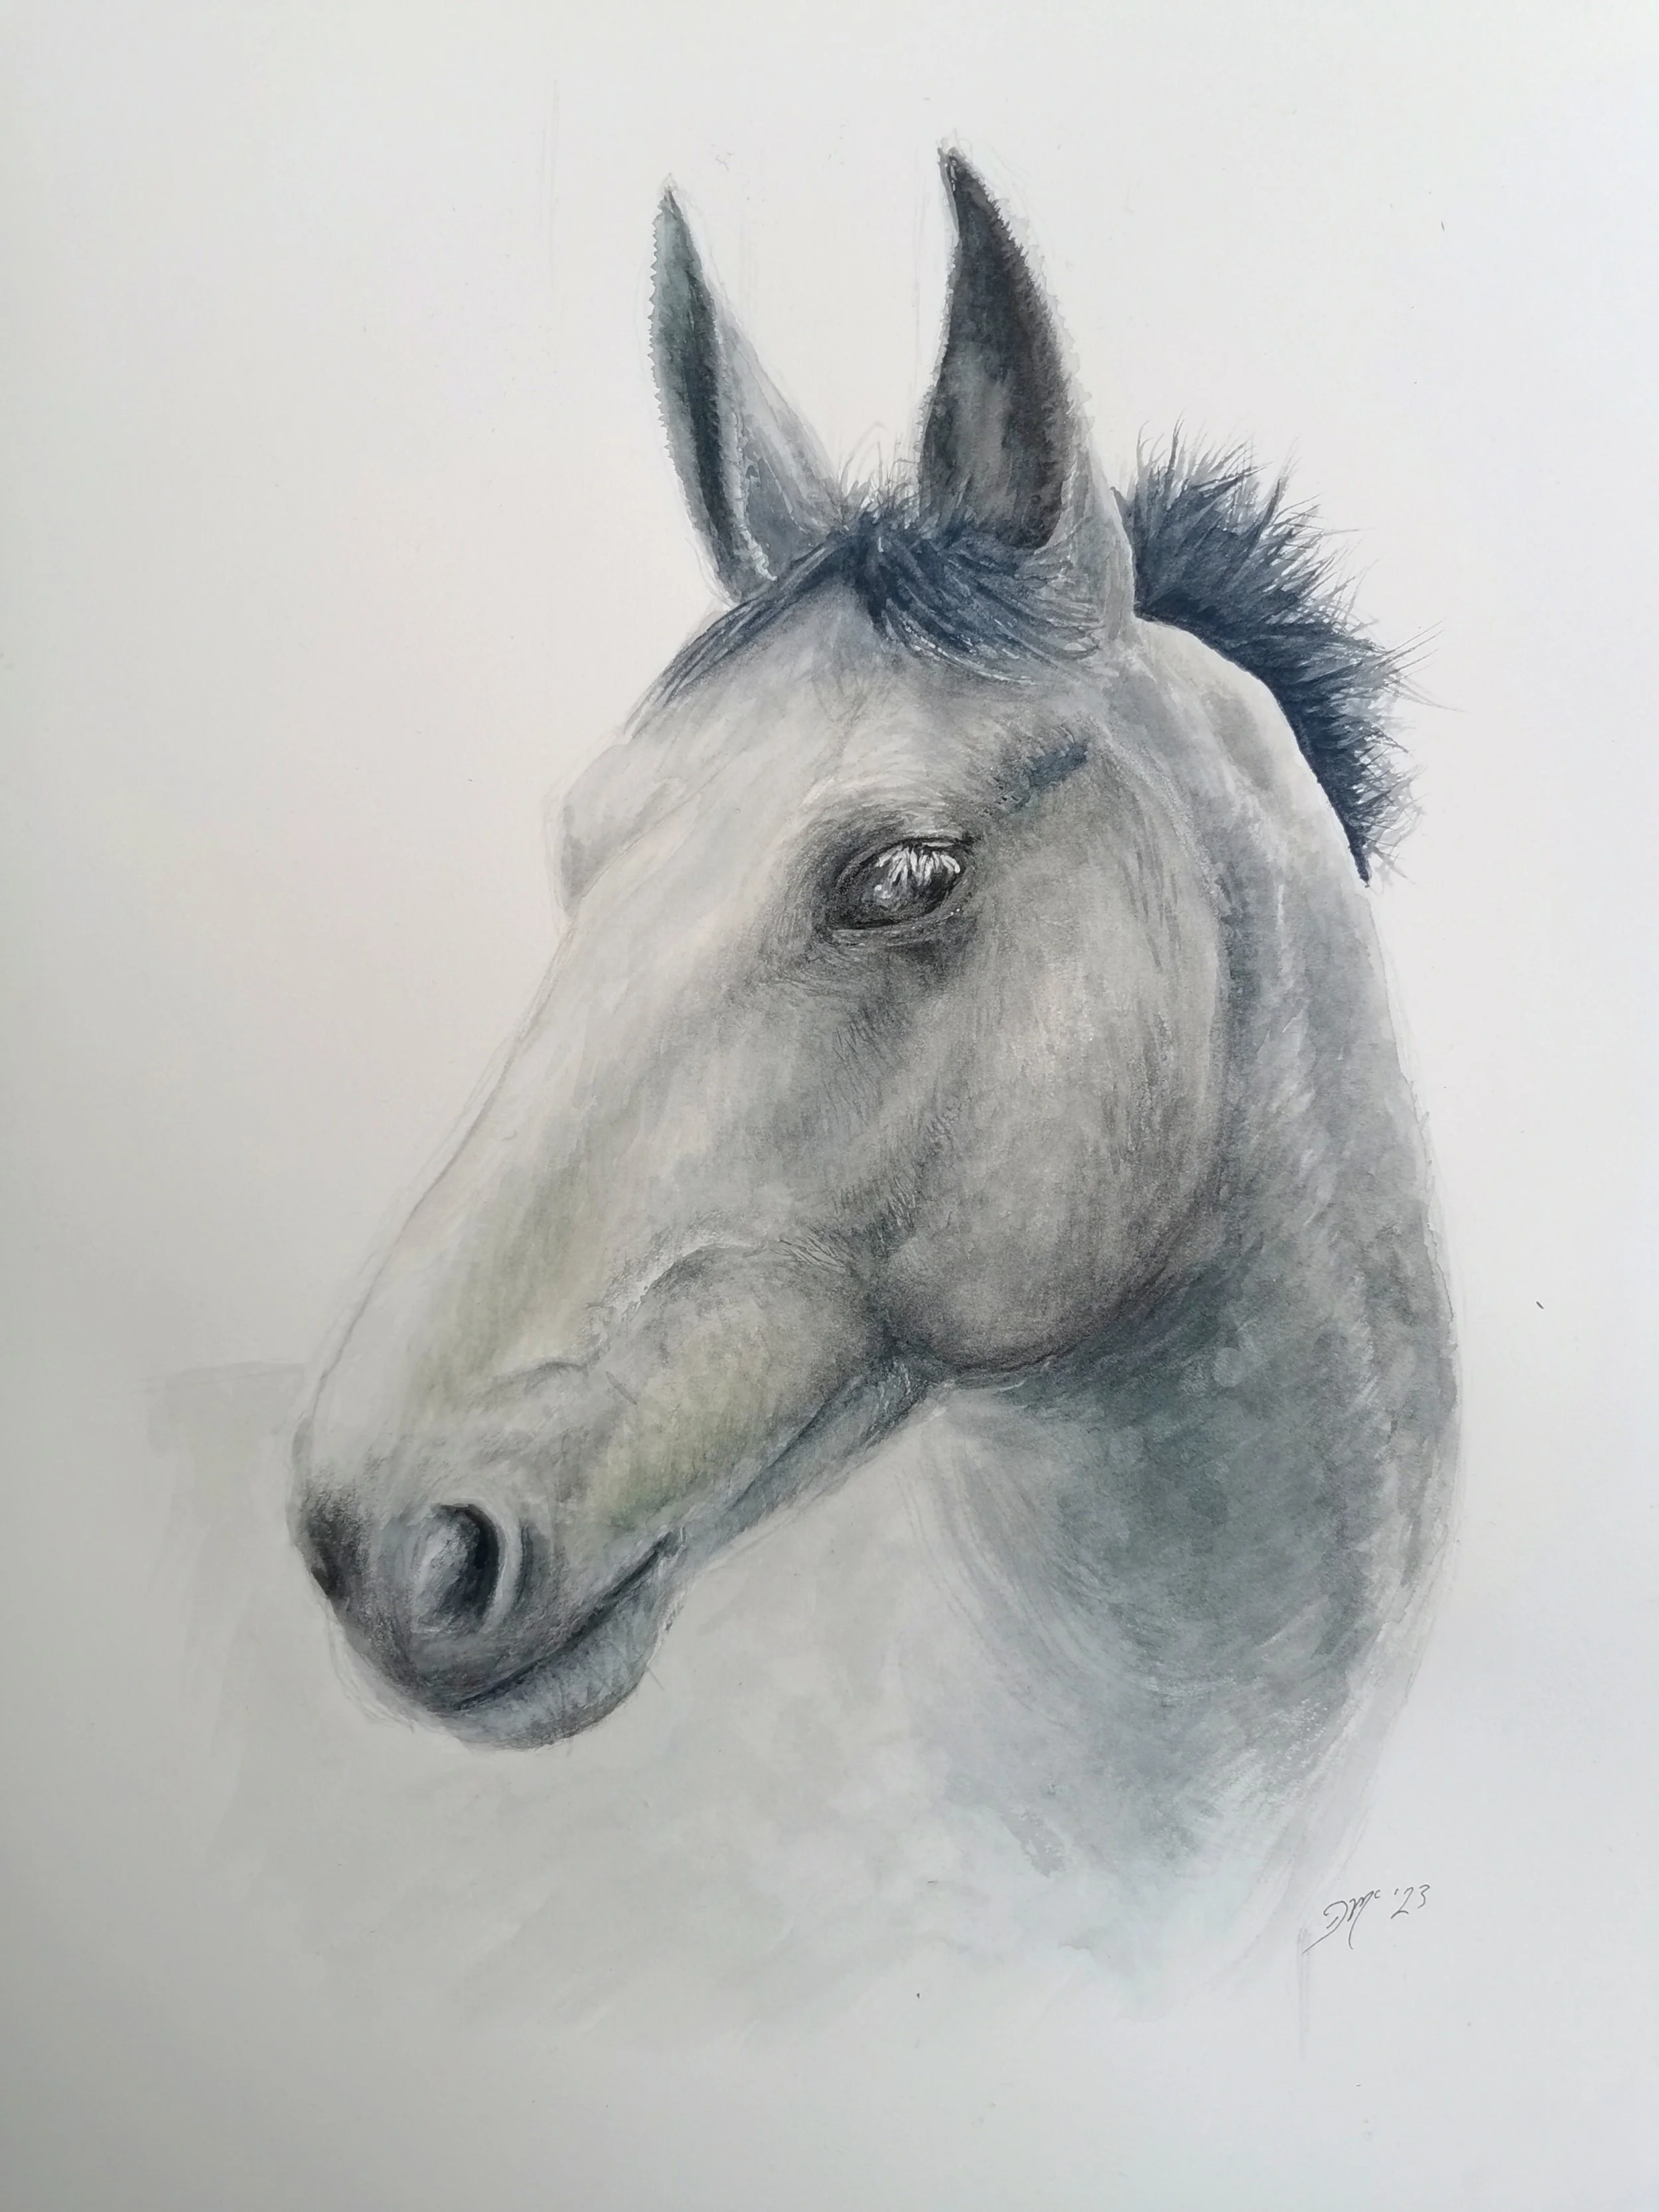
Most of my pet portrait commissions are of dogs. In my experience, dog portraits are more popular than any other type of pet portrait. As an animal lover, I am happy to paint any pet, but for the purpose of this blog I will focus on my approach to painting dog portraits and share some examples of my work.
I originally began creating pet portraits in pencil, but I soon discovered that they took almost as long to complete as oil paintings. While many people assume that pencil is a more forgiving medium, I have found oils to be just as forgiving, if not more so.
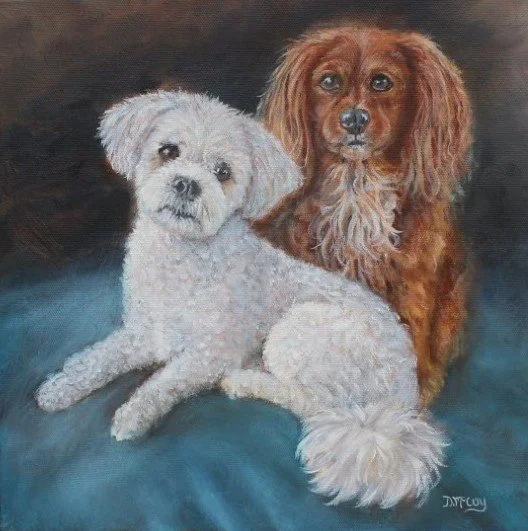
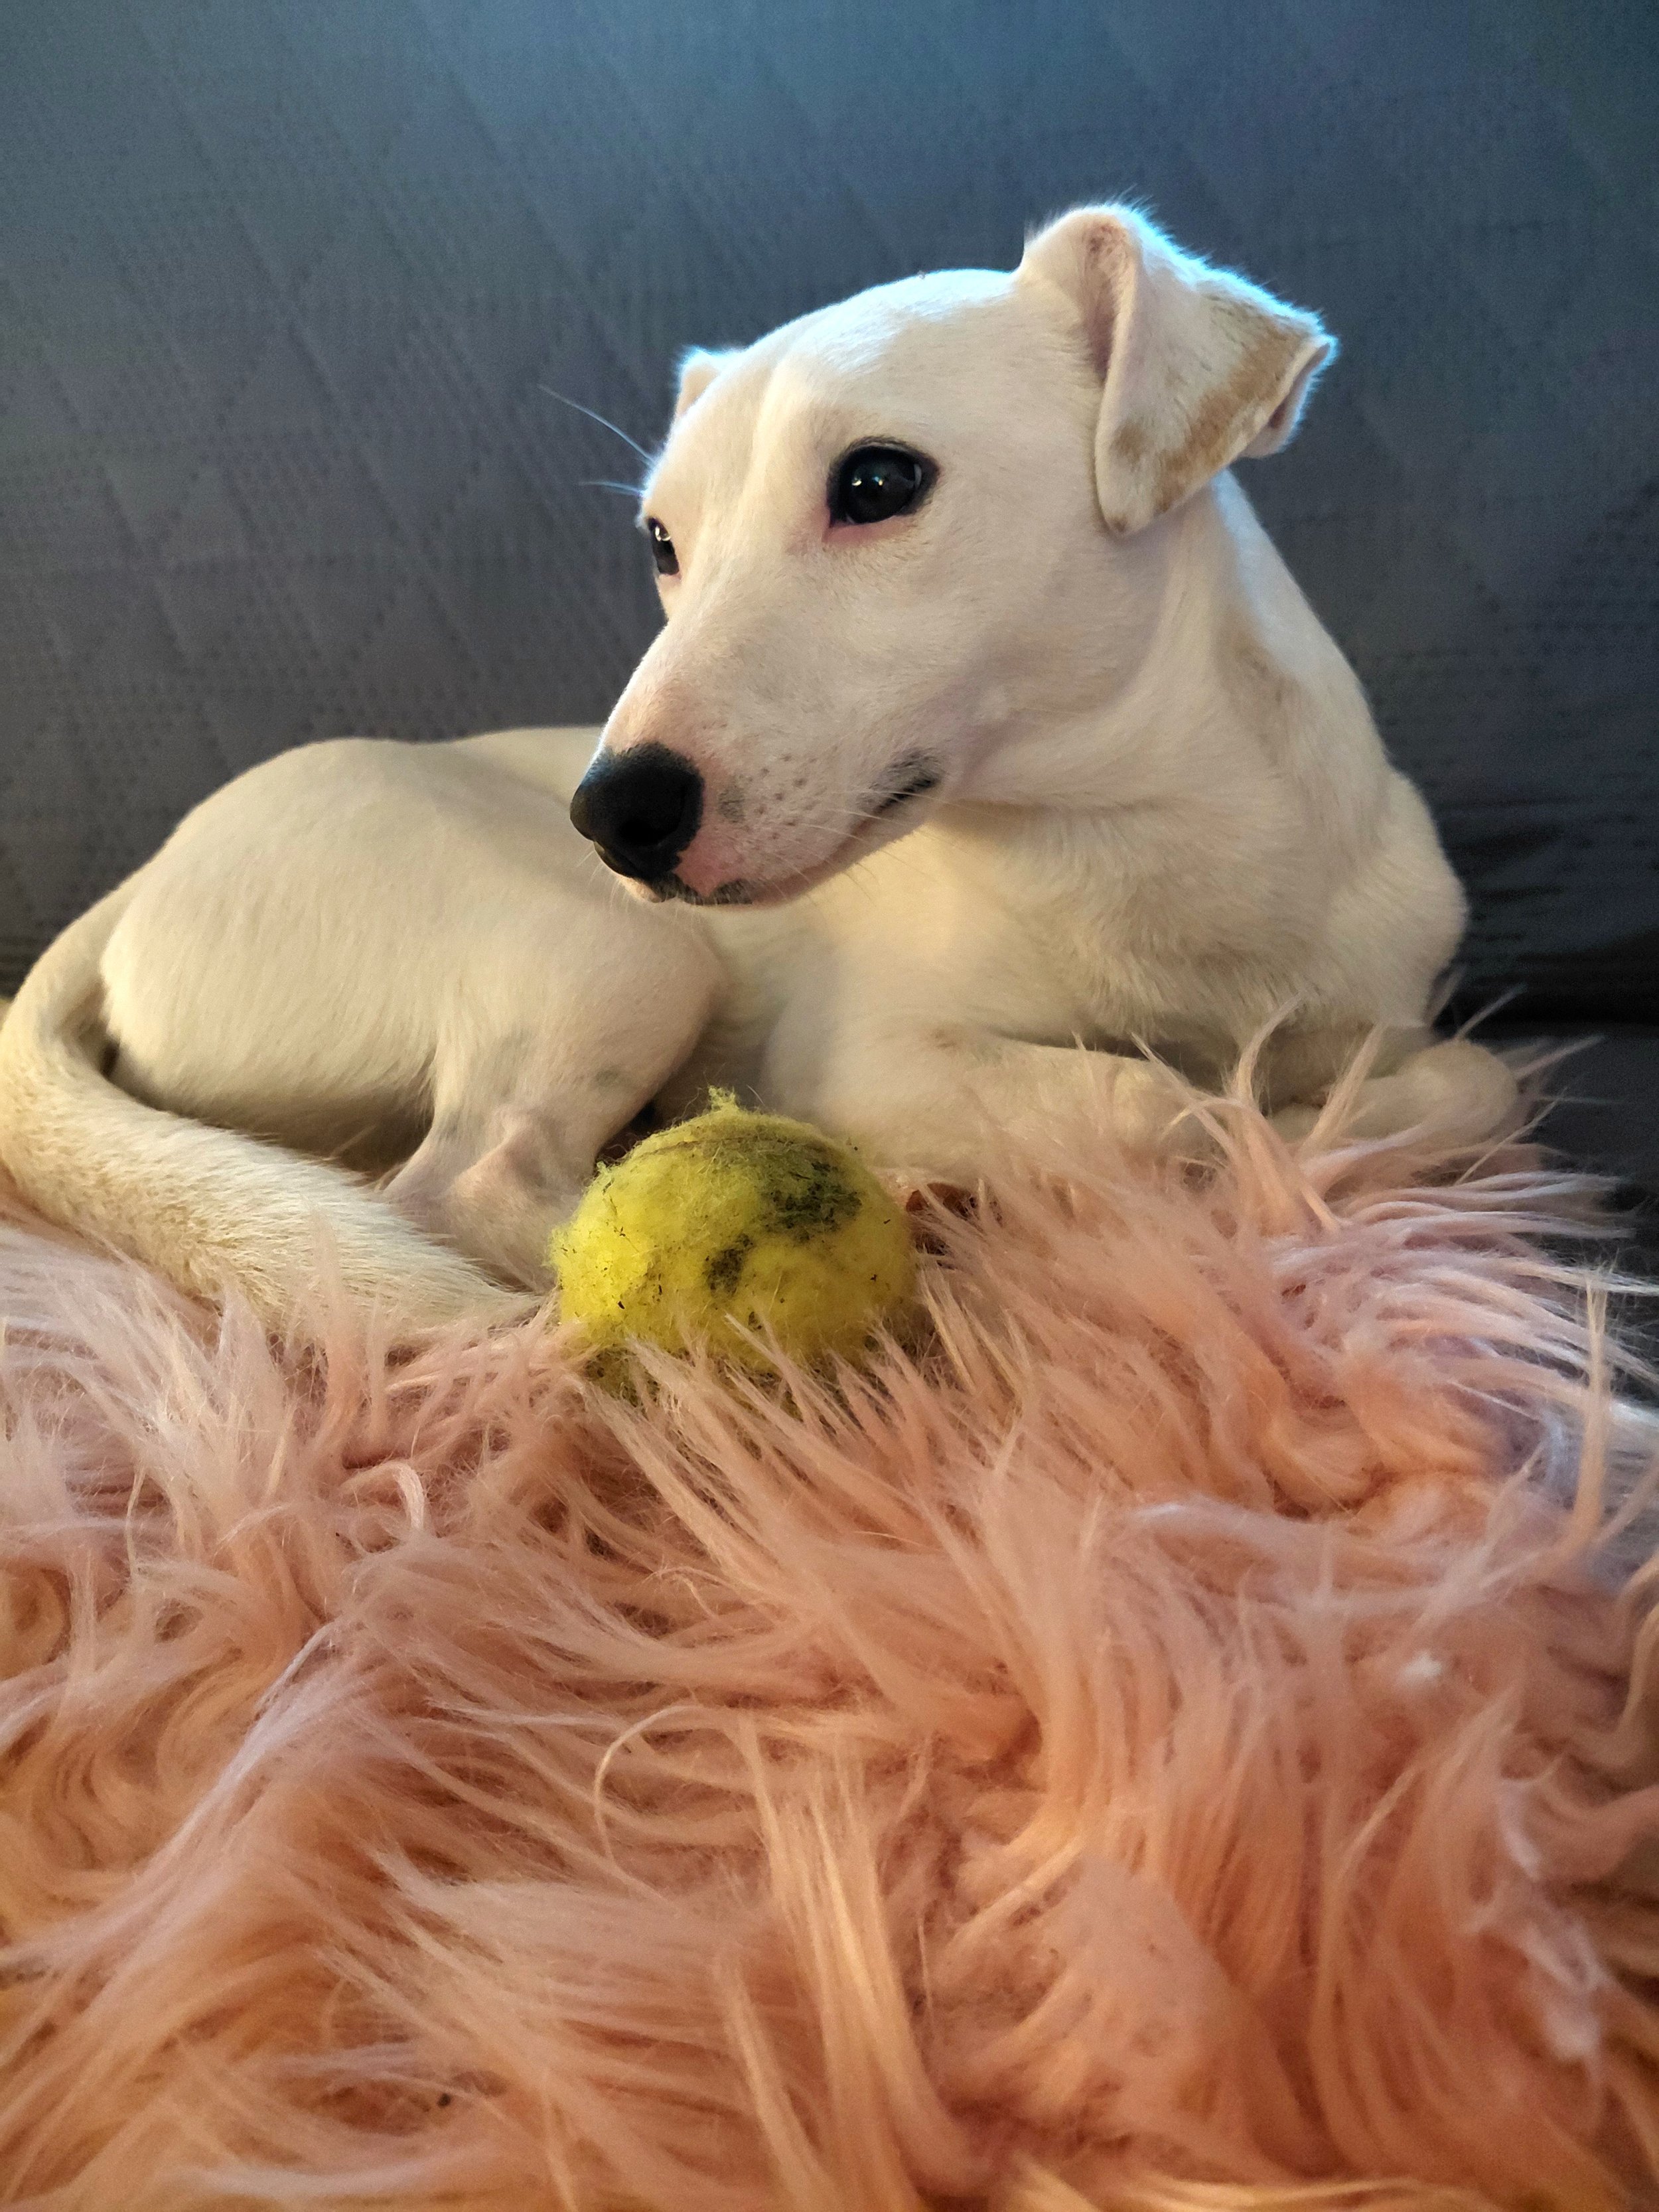
The first step in creating a successful portrait is obtaining a very good reference photograph. The image needs to be sharp and clear rather than blurred. The dog's pose is also important, although capturing a perfect photograph of a beloved pet is not always easy. I spent a long time trying to photograph our all-white dog, Bella. The challenge was not her pose, but the way the light reflected off her coat. Eventually, I achieved the result I wanted by placing her on a pink blanket against a dark background and using indoor lamp lighting. This created beautiful ambient reflections and subtle colours within her fur, giving me much more to work with as a painter.
Whenever possible, an eye-level photograph works best, although this can sometimes be difficult to achieve. Images with strong contrast and clearly defined shadows also make it much easier to understand the form and structure of the subject.
To help with proportions and capture facial features accurately, I use a grid technique. I usually place a grid over the reference image with the help of AI, although there are many other digital methods available. I simply find this approach to be the quickest and most efficient.
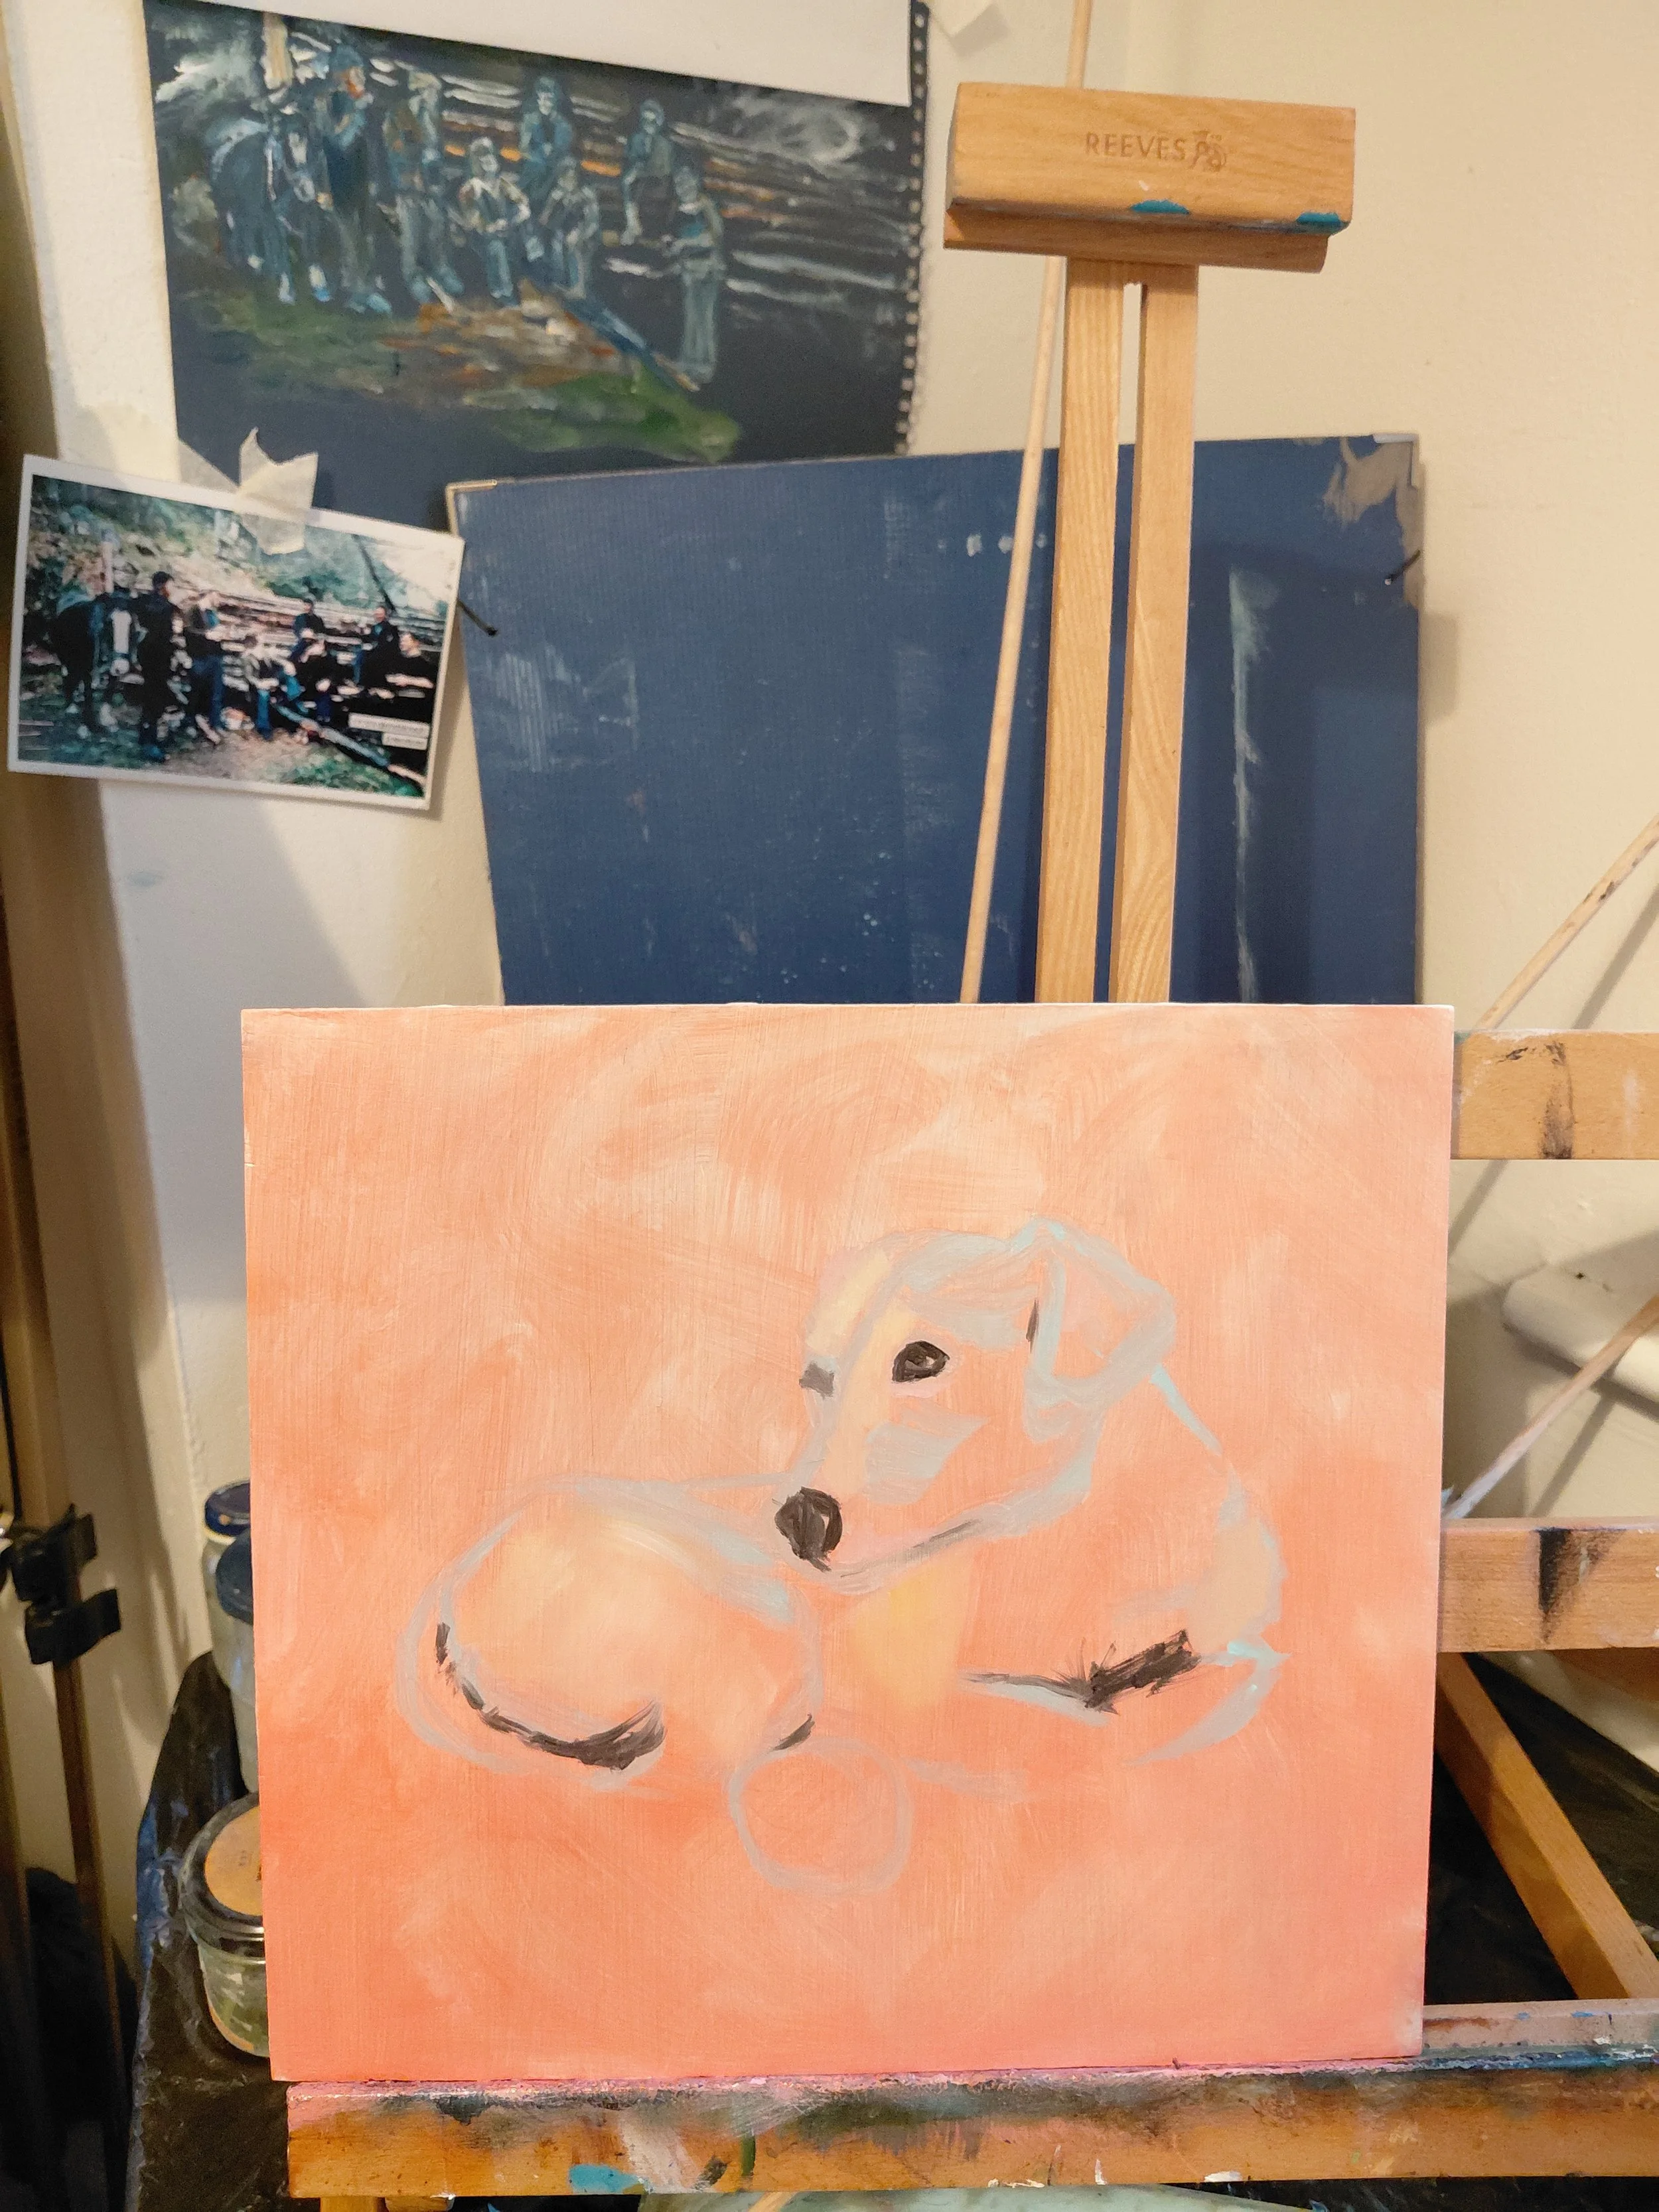
I begin by covering the entire canvas with a thin, light-toned layer of paint. Using a small brush, I then sketch the outline of my subject directly with paint, regularly stepping back to assess the proportions. At this stage, I deliberately avoid painting an elaborate background. Instead, I prefer a simple, neutral backdrop that complements the subject without distracting the viewer from the main focus of the portrait.
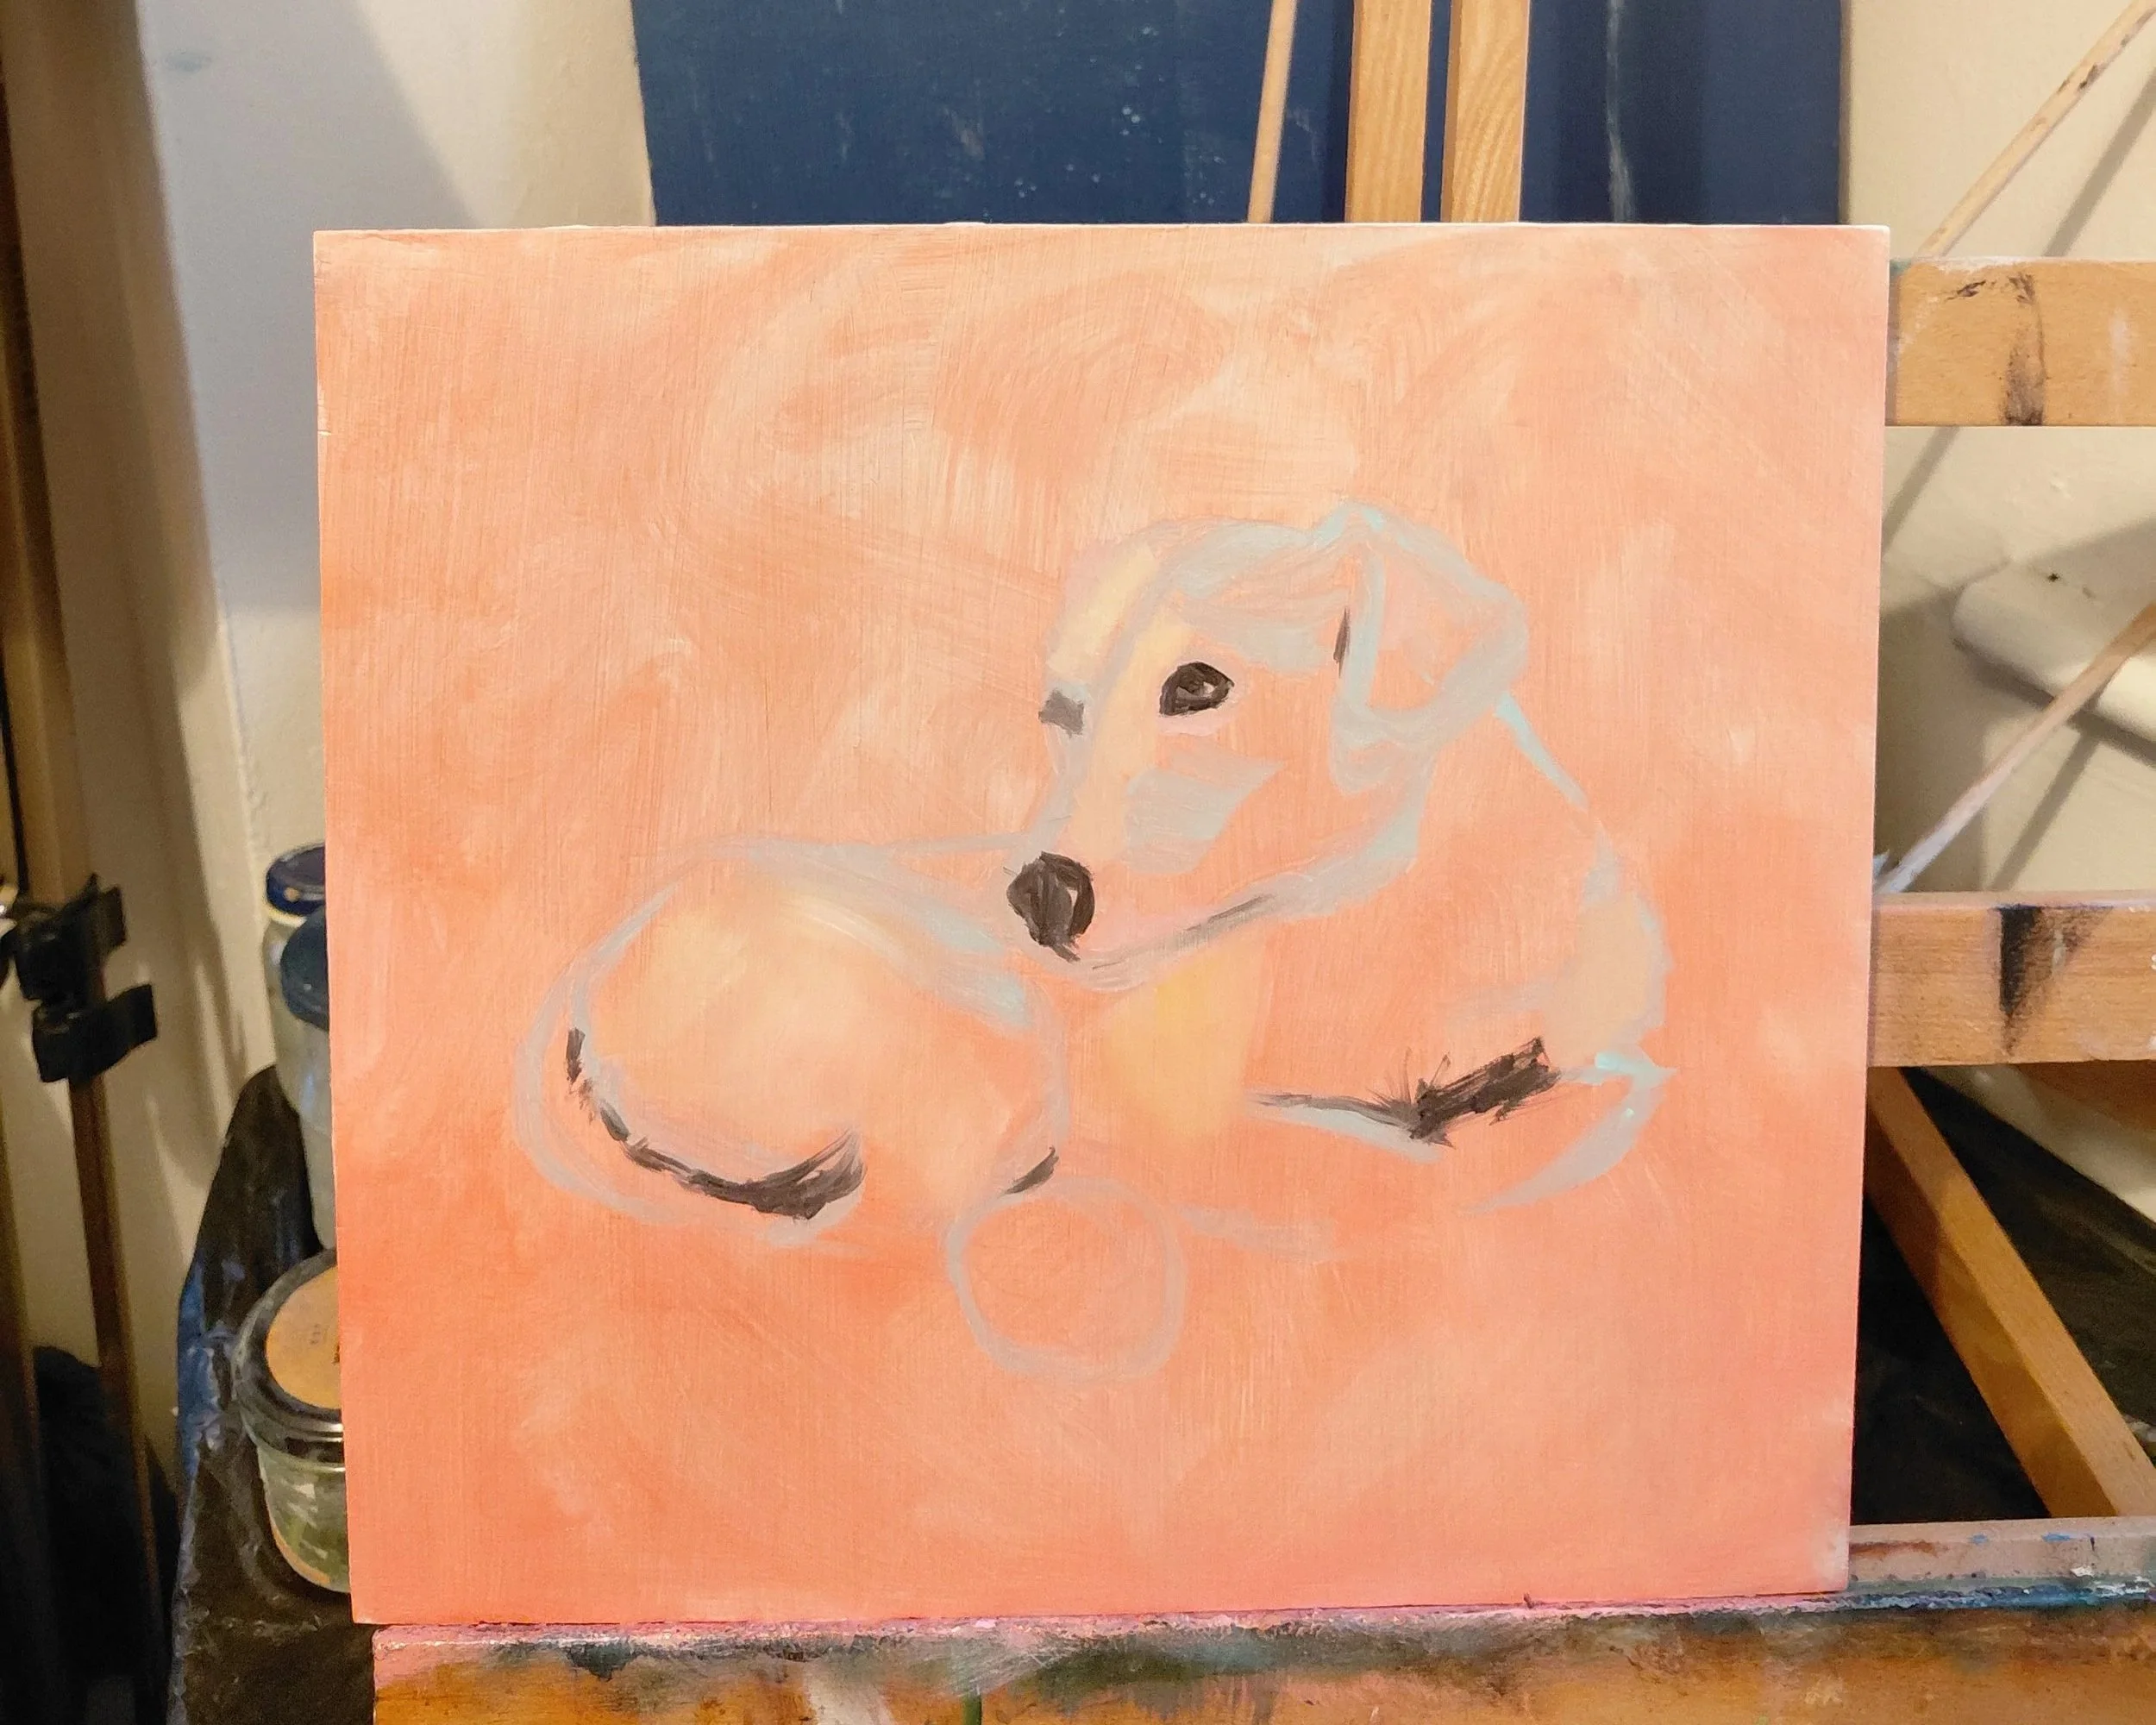
Next, I concentrate on the facial features. Just as every person has unique characteristics, every dog has its own distinctive personality, and the eyes are often the most expressive feature. They provide the first real insight into the character of the animal.
Once the overall shape of the body has been established, I map out the main tonal values and underlying skeletal structure. After allowing this layer to dry, I begin painting the fur, working from dark to light, allowing paint layers to dry between dark to light applications. A common mistake among beginners is trying to paint every individual strand of hair, which can result in a flat and overly busy appearance. Instead, I think of the fur in larger clumps and shapes. Choose the appropriate brush size and shape(this can depend on length of hair). I create groups of fur that flows naturally in the correct direction, following and enhancing the contours of the body(mostly this is the case with short haired dogs). This approach produces a much more convincing and lifelike result.
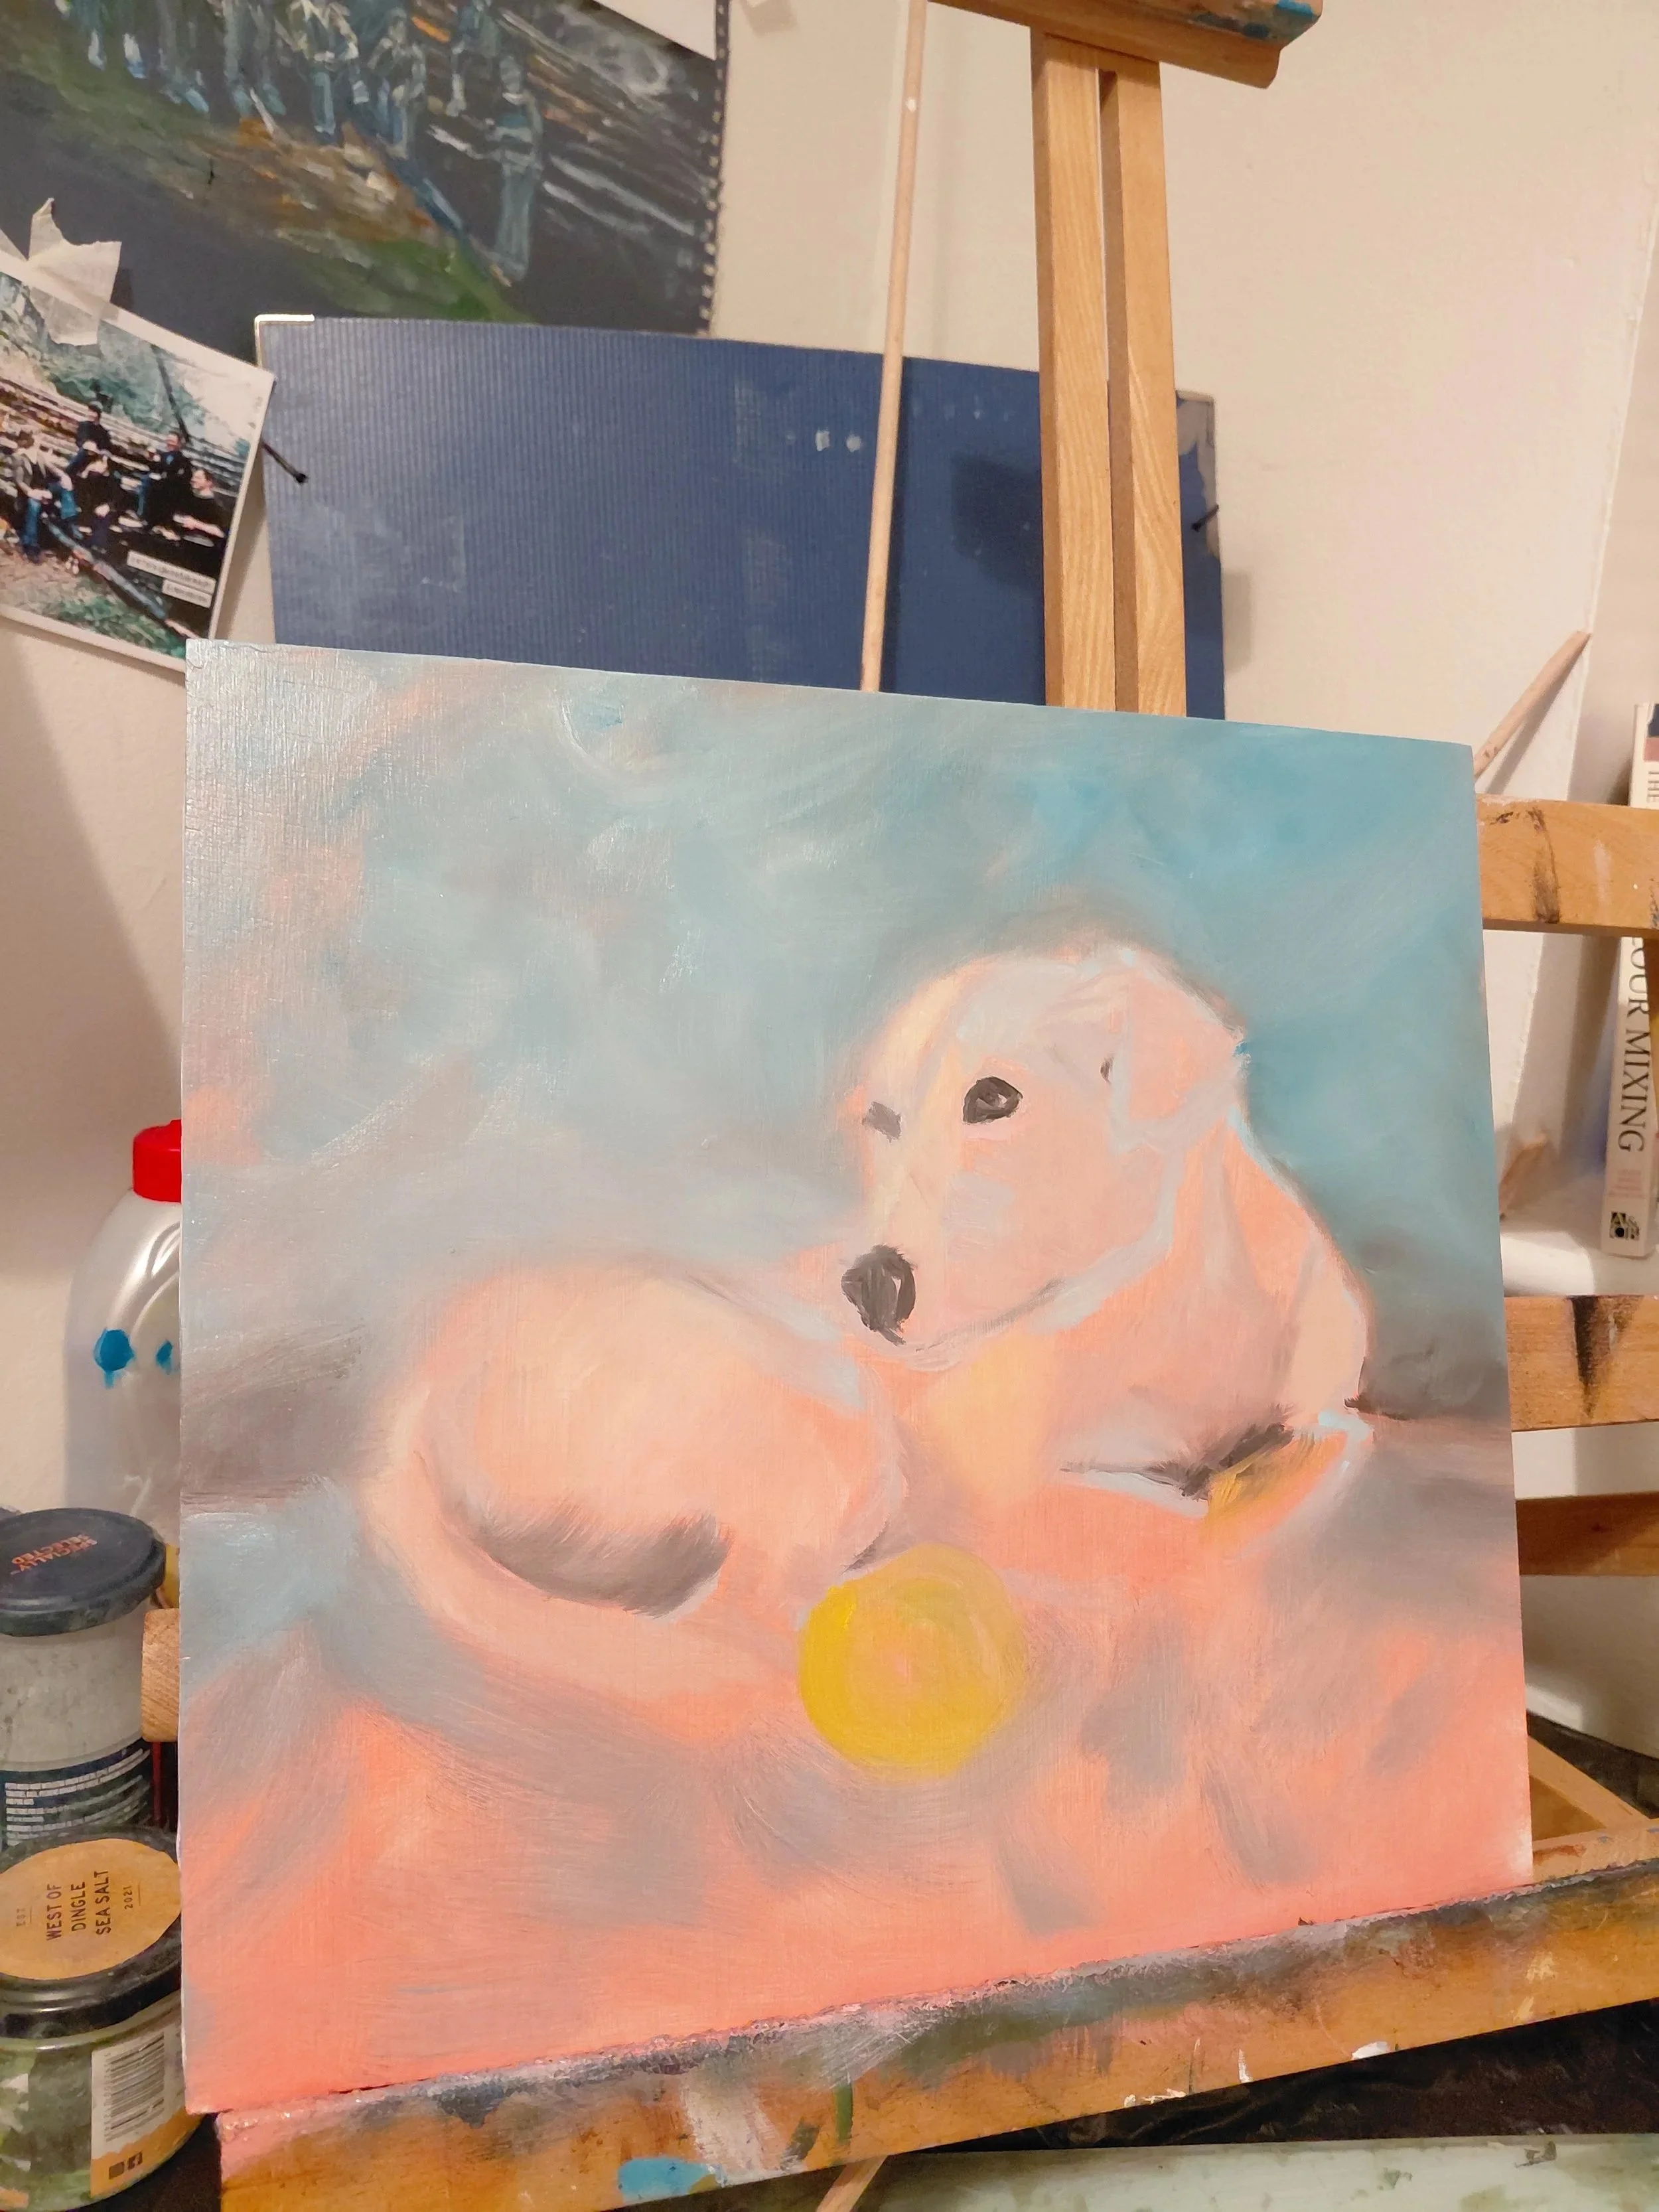
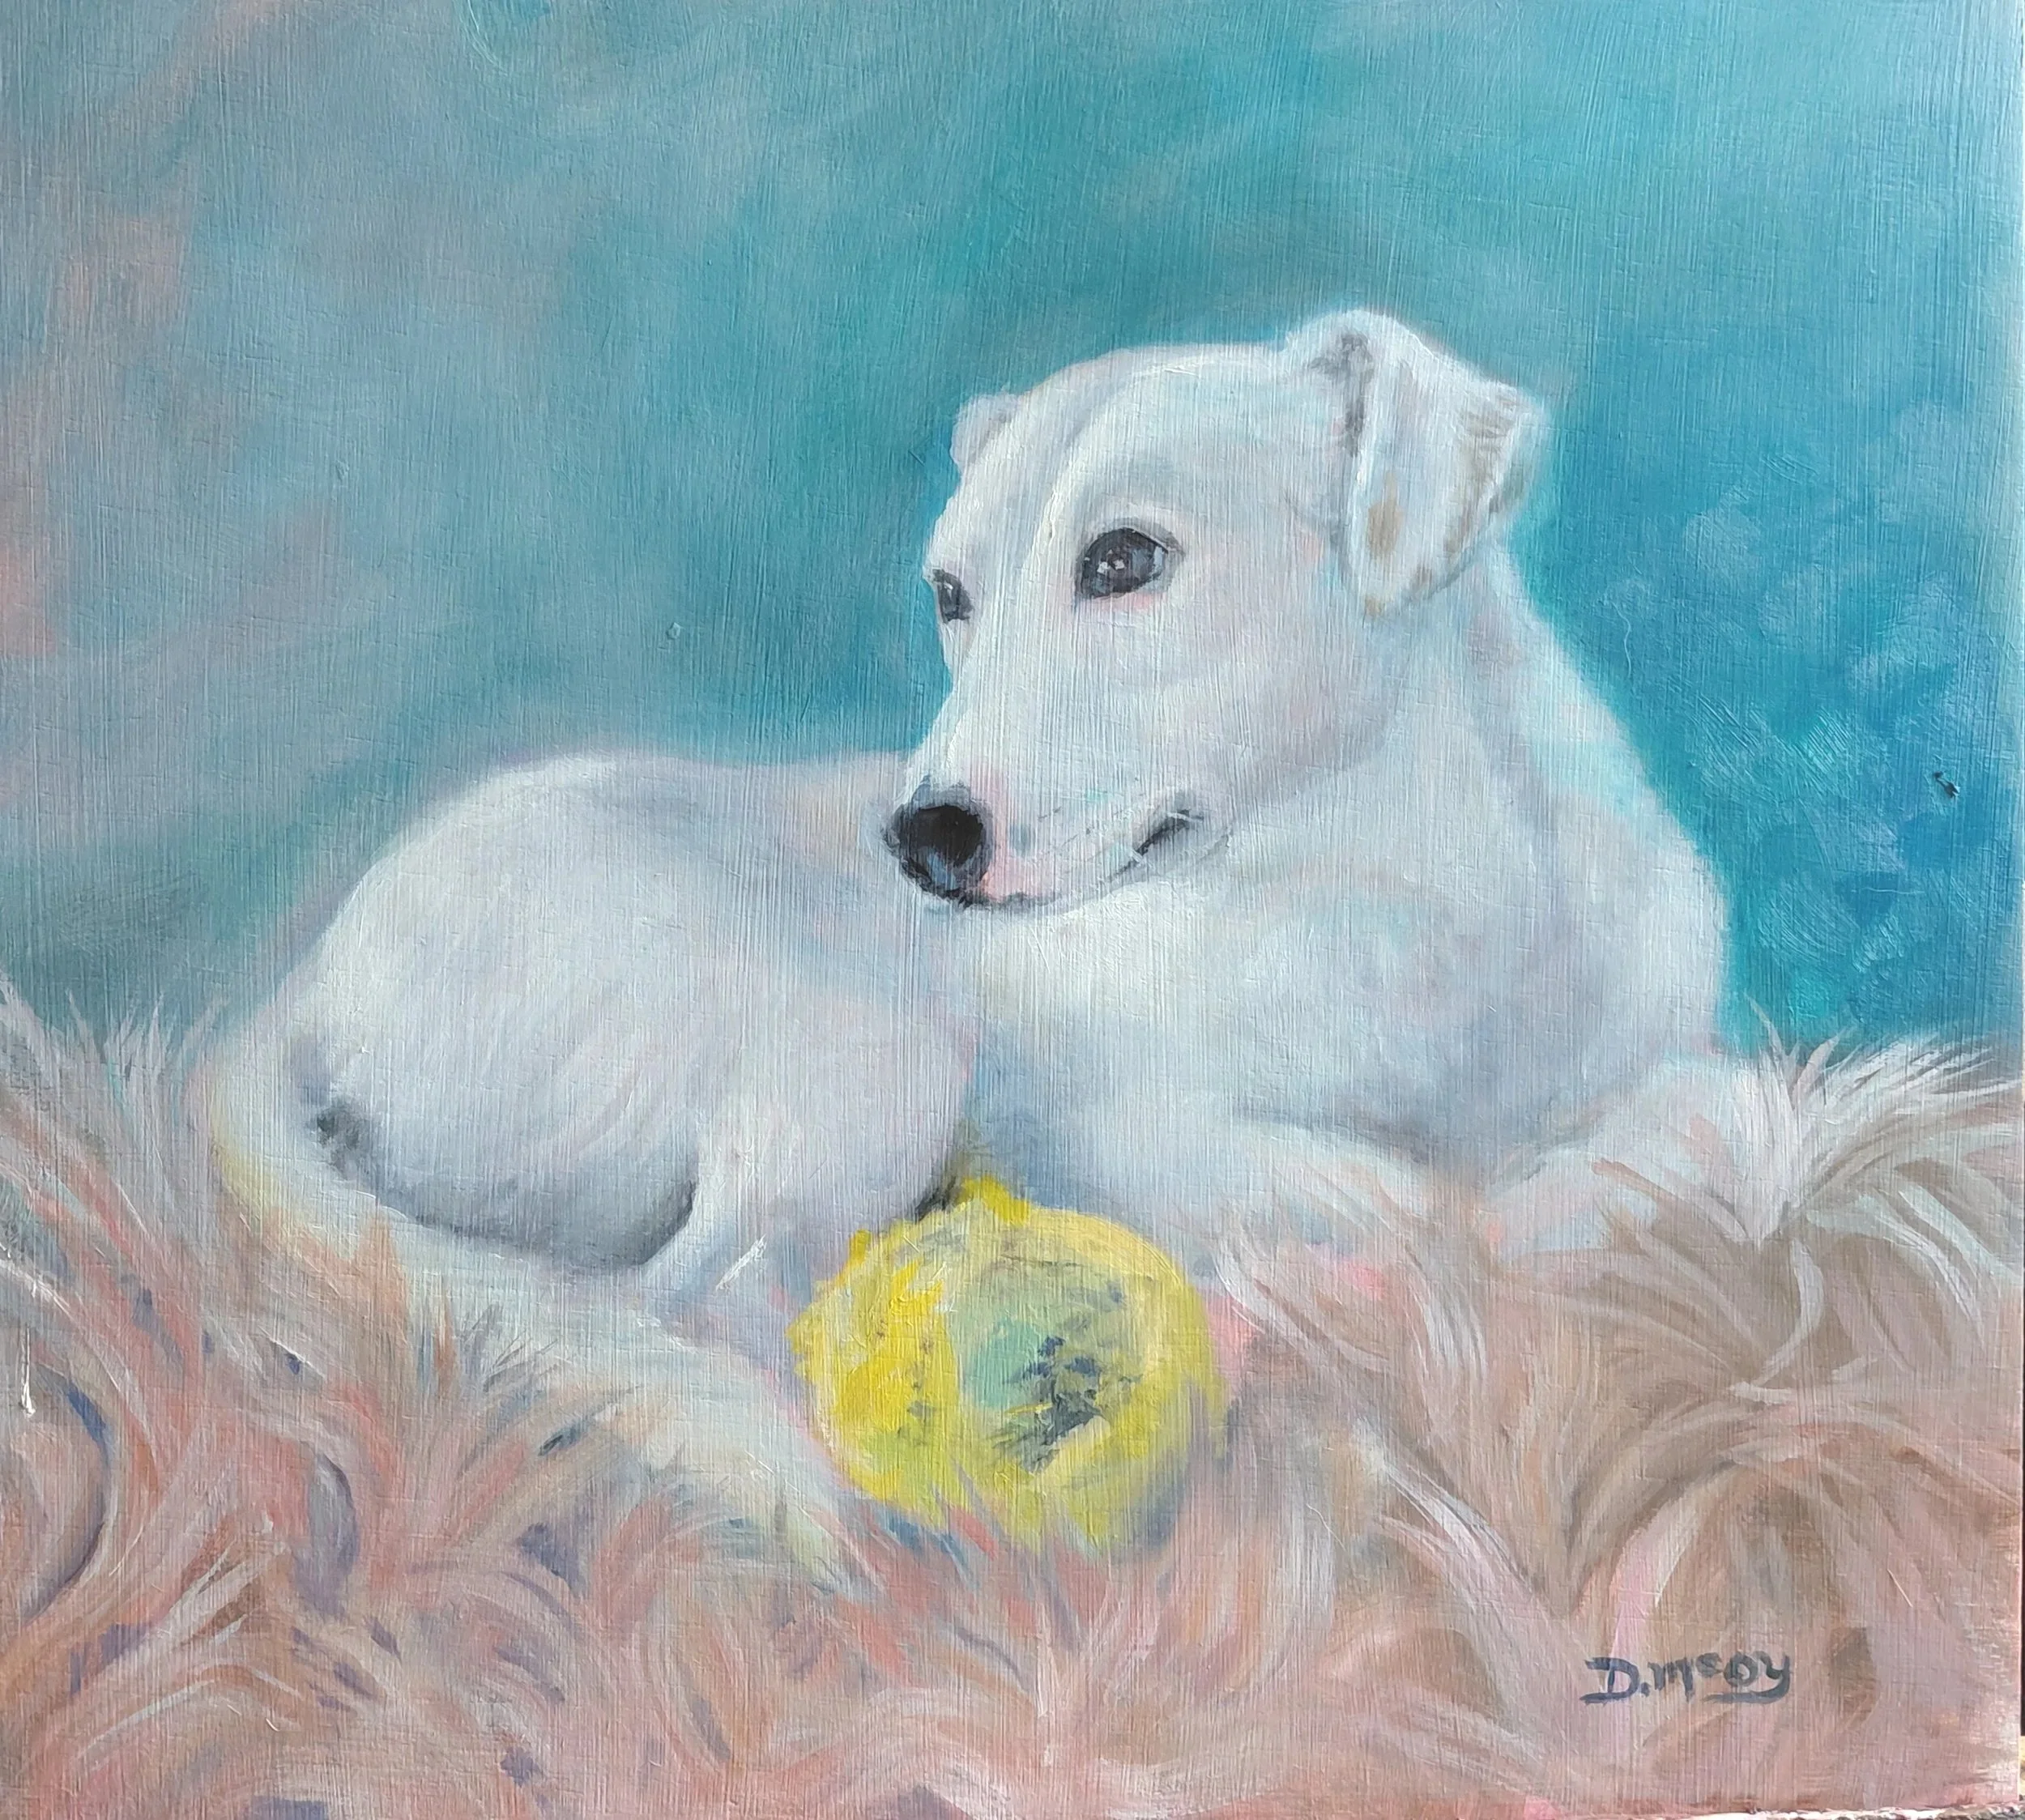
Next, I concentrate on the facial features. Just as every person has unique characteristics, every dog has its own distinctive personality, and the eyes are often the most expressive feature. They provide the first real insight into the character of the animal.
Once the overall shape of the body has been established, I map out the main tonal values and underlying skeletal structure. After allowing this layer to dry, I begin painting the fur, working from dark to light, allowing paint layers to dry between dark to light applications. A common mistake among beginners is trying to paint every individual strand of hair, which can result in a flat and overly busy appearance. Instead, I think of the fur in larger clumps and shapes. Using the appropriate brush size and a light touch, I create groups of fur that flow naturally in the correct direction, following and enhancing the contours of the body(mostly this is the case with short haired dogs). This approach produces a much more convincing and lifelike result.
Save your brightest tones until the end along with any detail such as whiskers or the highlight on the eyes. My portrait of Bella(above) is not quite finished but the images will gill you some guidance on portrait progression.